转自:https://www.cnblogs.com/yangfantianxia/p/7878823.html
1.安装
1
2
| npm install @ngx-translate/core --save
npm install @ngx-translate/http-loader
|
1
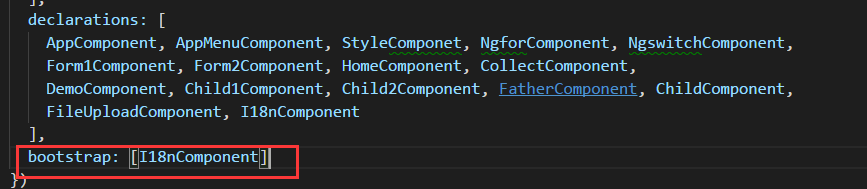
| 2.配置(文本背景部分为该模块新增的)~app.module.ts
|
1
2
3
4
5
6
7
8
9
10
11
12
13
14
15
16
17
18
19
20
21
22
23
24
25
26
27
| import { TranslateModule, TranslateLoader } from '@ngx-translate/core';
import { TranslateHttpLoader } from '@ngx-translate/http-loader';
import { I18nComponent } from './i18n.component'
import { HttpClientModule ,HttpClient} from '@angular/common/http';
export function createTranslateHttpLoader(http: HttpClient) {
return new TranslateHttpLoader(http, '/app/assets/i18n/', '.json');
}
imports: [
BrowserModule,
FormsModule, // <-- import the FormsModule before binding with [(ngModel)]
ReactiveFormsModule,
AppRoutingModule,//路由模块
CommonModule,
FileUploadModule,
HttpClientModule,
TranslateModule.forRoot({
loader: {
provide: TranslateLoader,
useFactory: (createTranslateHttpLoader),
deps: [HttpClient]
}
})
],
|
3.组件部分(i18n.component.ts)
1
2
3
4
5
6
7
8
9
10
11
12
13
14
15
16
17
18
19
20
| import { Component, OnInit } from '@angular/core';
import { TranslateService } from '@ngx-translate/core'
@Component({
moduleId: module.id,
selector: 'my-app',
templateUrl: 'i18n.component.html'
})
export class I18nComponent implements OnInit {
constructor(private translateService: TranslateService) {
}
ngOnInit() {
this.translateService.addLangs(["ch", "en"]);
this.translateService.setDefaultLang("ch");
const browserLang = this.translateService.getBrowserLang();
this.translateService.use(browserLang.match(/ch|en/) ? browserLang : 'ch');
}
}
|
4.i18n.component.html
1
2
3
4
| <div>
<span> hello dih</span>
<h1>{{ 'hello' | translate }}</h1>
</div>
|
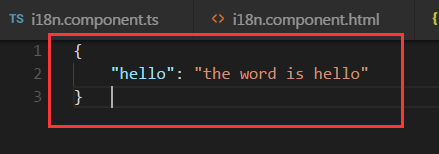
5.创建需要翻译的json语言 (注意:该路径是app.module中的调用的路径)

en.json
1
2
3
4
| {
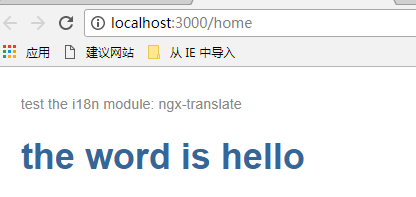
"hello": "the word is hello"
}
|
ch.json
通过以上配置即可完成i18n国际化语言的转化,但是还有些坑需要自己踩。。。。
以下是通过自己的实战经验解决的问题,也许能帮助大家,往下看
1.bug1 (GET http://localhost:3000/@ngx-translate/core 404 (Not Found))
解决方案如下:
- 需要在systemjs.config.js中添加
‘@ngx-translate/core’: ‘npm:@ngx-translate/core/bundles/core.umd.js’,
‘@ngx-translate/http-loader’: ‘npm:@ngx-translate/http-loader/bundles/http-loader.umd.js’,
2.bu2(http 404 (Not Found))
解决方案如下:
1.在app.module.ts中把http换成HttpClient,上面的已经修改后的
2.需要在systemjs.config.js中添加@angular/common/http

3.bug3 (tslib 404 not found)
解决方案如下:
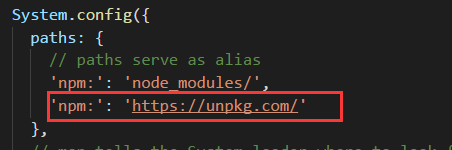
1.在systemjs.config.js中添加以下配置
path:新增’npm:’: ‘https://unpkg.com/'
map新增’tslib’: ‘npm:tslib@1.6.1‘

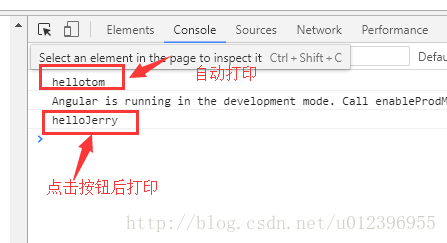
通过以上配置,即可根据浏览器语言设置来加载国际化语言了
英文如下:
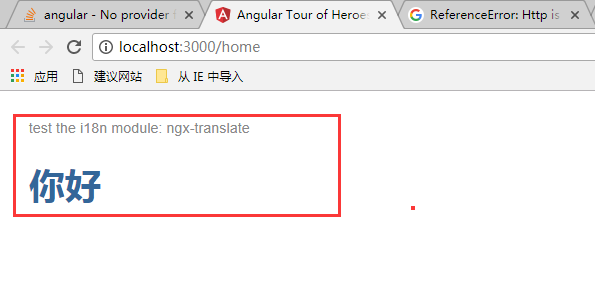
中文如下:
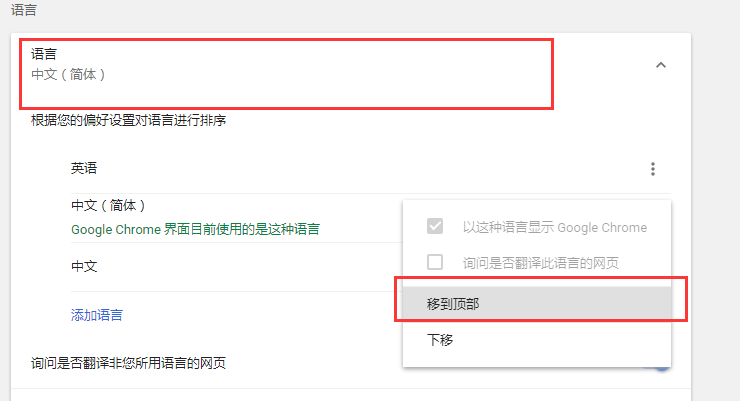
谷歌浏览器高级语言移动顶部保存刷新F5语言